Year-End Procedures for Windows
Well it's that time of year again. I can't really figure it out, but 2024 went by in a big time hurry. We thought that again this year it would be nice if we could provide you with information regarding that year-end tradition of finishing up your general ledger and getting it together for the new year. For the next several pages, this issue of the DASI Bits & Bytes will be dedicated on how to wrap-up your general ledger for this year, and begin the process for the New Year. If you will follow all these instructions step-by-step, you should have no problem with this once a year procedure, and hopefully it will take a lot of the pain out as well.
Make A Backup
The very first thing to do before we begin any updating or processing of information is to make a complete backup of all data files. We cannot stress how important this first step is. If anything should go wrong in this rather lengthy procedure, you need to be able to put "Humpty-Dumpty" back together again.
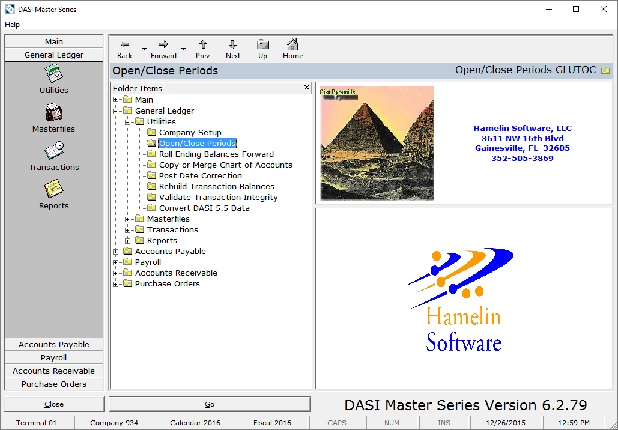
First step is to launch DASI for Windows. Now, click on the + mark next to General Ledger; next click on the + mark next to Utilities. You will now see a folder titled, "Roll Ending Balances Forward." (See the screen below). Now, go to the next step.
General Ledger
After double clicking on the Roll Ending Balances Forward option, you will see the following screen:

Next, read the explanation on what is about to happen. The big difference here is that there is no suspend year. This just rolls your current year into the new year and leaves all detail transactions in place for you to review at anytime in the future. Now, click on the Roll Fiscal $TaxYear button.
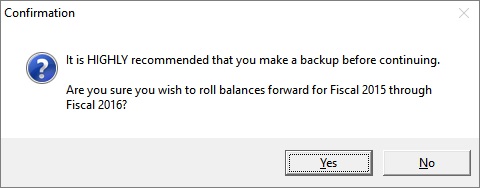
Again, take note of the warning. BACK YOUR SYSTEM UP before proceeding. If you already have, then click on the "Yes" button and the new year will be setup ready for you to begin.
When the roll over feature has completed its process, you will see the following screen:

Next you change years by selecting the "Fiscal" button at the bottom of the screen. To move to the new year, click on the button titled, "Fiscal 2025." You will now see the following:

You will now see the "Select a New Fiscal Year" option screen. This screen shows 2024. To move to the new year 2025, click on the selection showing 2025 and then click "Ok."
Now verify on your screen (at the bottom), that you are indeed in Fiscal 2025. If so, you are ready to continue.
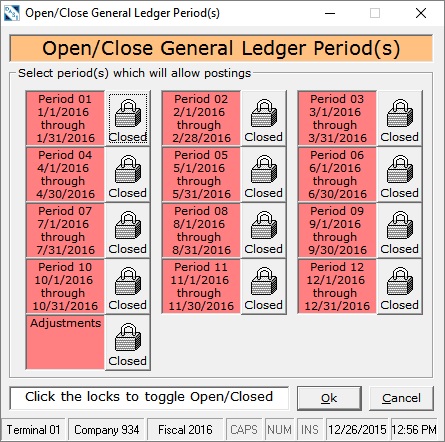
Finally, go to General Ledger > Utilities > Open/Close Periods. You will notice that all posting periods are currently closed. Open one, or all, or any combination so that you can have a period to which to post.
How to begin a new Payroll
To begin the new payroll year, simply look at the bottom of the main screen and you will see "Calendar XXXX" where the X donates the current year. To begin the new payroll year, simply click on the word "Calendar" and a window will pop up. Change that current year to the new year and then click ok. You do that by clicking on the up arrow to advance to the new year.

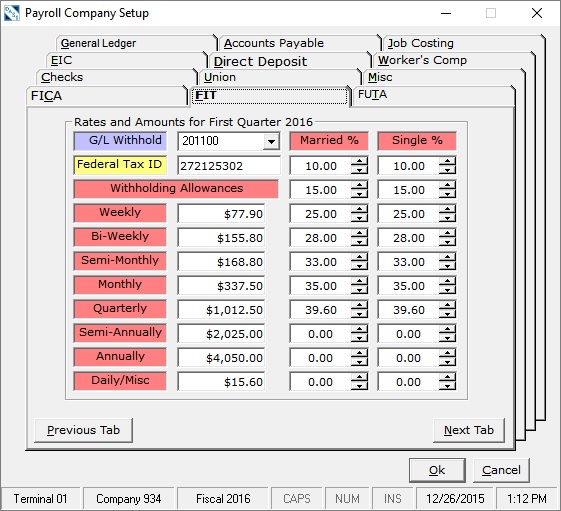
Note that no changes will need to be made under Payroll > Utilities > Company Setup as all settings with labels designated in red indicate settings that are now automatically adjusted to year and quarter by the program. If you have SUTA, Worker's Comp, or State withholding changes you will still need to make those changes yourself in the appropriate places.
Note that FICA and FUTA settings as well as FIT settings are all marked in RED as mentioned above. You can still edit them, but the next time you install an update, they will become over-written with the program's standard values for the current year and quarter selected. If you note a problem, please contact Hamelin Tech Support so that we can make the change/correction permanently.


Finally ... the last step is check your State Unemployment Percentage and change if necessary. To do that click on the following: Payroll > Masterfiles > Tax Tables > State Withholding. You will now the following screen:
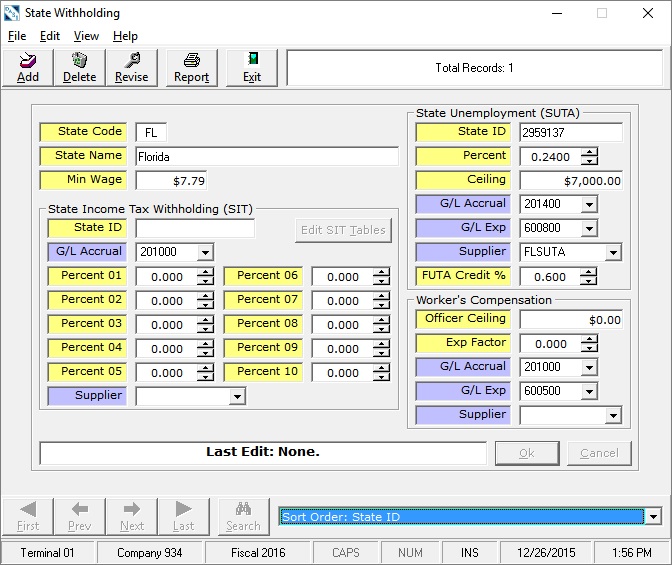
Note the percentage in the upper right corner under the title of "State Unemployment (SUTA)." If your percentage changed, change it here to reflect the new number for the new year.
That's it, you are now ready to begin a new payroll year. When you are ready to print your W2's, simply change the calendar year back to the previous year, print your W2's, and then return to the new year. You can, however, skip the step of changing years, as the W-2 printing program allows you to select the year for reporting.

Since all payroll information is being now stored by individual check for each employee, you can go back to any previous year to look, retrieve, or print any information needed.
Last modified: May 1st, 2025.